Mixed Media Fairy Nook (for Art Elements April Challenge)

It was almost the middle of April before I saw the Art Elements Challenge for the month. However, as soon as I saw the theme of Repurposing, I knew I had to participate. Finding a new way to use objects and incorporating unusual materials into my work is the heart and soul of most everything I  make. Seriously, just look through this blog or my Etsy shop and you'll find loads of repurposed items. And, it didn't take me long to decide what my actual project for this challenge would be but finding the time to do it was harder than I expected. I crammed working on it in the last couple of days, and am surprised how well it ended up coming together.

Some time ago, I picked up an old, plastic alarm clock at the thrift store. I immediately took out the battery-operated innards knowing that I could use the main structure as some kind of shadowbox.
But, it sat in my stash until I had the inspiration to proceed. This challenge was just that inspiration.

If you're interested in watching all the pieces for this mixed media fairy nook come together, I did record a video (big surprise!) of my process.
However, I'll also walk you through the steps I took as the video is a little choppy since I was trying to ensure that it wasn't too long. And, there was a lot of jumping back and forth on the steps to allow for dry time. 

I started by spray painting the whole structure black just to have a base. Alas, the paint stayed sticky on the plastic, and I ended up just painting acrylic black paint over it. While I was at it, I also painted four small wood spools black to use as the feet.
After that, three different texture pastes were applied to the outside of the structure. I had hoped to make it look like rust with layers of paint, but instead, it looks more like tree bark. And, that's okay by me. 

To cover the back of the piece, I cut down a cracker box to the right size, coated it in gesso, and glued on some old paper with handwriting on it. After that, I used my sewing machine to give some sketchy black lines around the edge. 
The inside of the clock structure was painted gold to give a bit of a magical glow to the piece and allow it to reflect light. 

A larger spool was painted with gesso and a little brown paint. It was topped with a small tuft of red and white fabric to make it resemble a mushroom. 
The fairy was created with a Tim Holtz paper doll. A butterfly stamp and embossing powder on scrapbook paper were used to make her wings. 

For the base, I stacked two layers of foam core and glued them inside the clock. The mushroom spool was glued to the foam core before moss was added.
I simply used Aleene's Tacky Glue to stick everything in place. 

It's a shame that it took me so long to get started on this because once I got the ball rolling, it really just fell together.
And, I LOVE HER!! I could probably have added a few more touches: maybe some flowers. But, the simplicity really lets her stand out. 

I would have liked to have made a few more projects for this challenge. However, since most of what I make is repurposed, I think it'll be okay. I'm busting at the seams to see what the other participants made for this theme. Make sure you hop around and take in the art created for this challenge. I'm sure it'll be super inspiring. 


AE Team: NikyLaneyCathyCarolineJenJennySueClaireLesley

DIY Earring Cards for Lever Back Earrings

As I've already shared my method for creating earring backers/cards for fish hook ear wires, I thought it only right that I also share my easy method for making earring cards for lever-back earrings too. 

These are a little more tricky as you have to work with the fact that these are a continuous loop that opens and closes. While there are several methods, the one that works best for me involves punching two holes for each earring. I created a video for you to watch how to make your own Lever-back Earring Cards.

Simply put, I first use a normal-sized hole punch to make a hole in the thin cardboard (upcycled from cereal and cracker boxes). Just above that hole, I punch another one with a small hole punch. Then, I open the lever on the ear wires and slip them on the cards. Easy Peasy!

Again, the cardboard is just recycled from kitchen items. I cover it with old dictionary text and a whitewash of acrylic paint.

You could go in any direction with the decoration of the cardboard since it's such a basic surface. Have fun with it! I hope I've helped you see how simple displaying and packaging your earrings can be. And, don't hesitate to let me know if you have any questions.

Honey Do List Jewelry for April

There was a real chance that I wasn't going to participate in this month's Honey Do List Challenge from SJ Designs Jewelry. I found the image that Eric, Sarajo's husband, provided as inspiration quite striking. The combination of colors pulled at my heartstrings. However, I was having a hard time trying to figure out some way to translate the photo into jewelry. In the end, I went for a literal approach. 
Upcycling cookie tins into jewelry has most definitely become my go-to technique for challenges lately. While that makes me a bit predictable, I can't complain. I am loving the results and the variety of ways I'm pushing myself to use the tin. 

I have to admit that while I'm currently wearing this necklace, it's got so many flaws that it will likely just stay in my personal collection. 
First off, I forgot to seal the Vintaj Patina that I applied to the basic silver tone rectangle of tin. And, then, I didn't seal the darkened patina on the back. One of my glass seed beads was smashed while I riveted the white tin boat to the back plate. And, then there's the chain. I love it, but as I worked with the headpins, the gunmetal coating began to flake off, revealing the copper wire underneath. How disappointing. Sigh. 

Despite all the flaws, I really do love what I was able to come up with for this challenge. I'm smitten with the incorporation of the bead and wire branch into the tin stack. And, the colors match the inspiration photo so well. 
The 3D-ness of the pendant is just yummy! I seriously wanted the beautiful lilac buds to hang in front of the white origami boat just as it does in the picture. I made it happen! Pushing myself really does work to help me come up with creative solutions. 

While I struggled with some of the flaws in the pendant, I worked on a pair of earrings so I knew I would have at least one completed design.
I focused in on the colors in the photo and simply grabbed beads that matched well. 

To incorporate the patina color of the oars in the inspiration, I brushed a touch of verdigris Vintaj Patina onto the bead caps.

These earrings seriously just fell together. And, I think they're pretty sweet. Perfect for Spring.

Thanks so much to Sarajo and Eric for another beautiful inspiration. Make sure to head over to SJ Designs Jewelry to see her Honey Do List reveal as well as hop through any of the other designers participating in the challenge. 

Wanderlust Earrings from Tin

This month is getting away from me somehow. How is it already time to reveal our earrings for the April We're All Ears theme, Wanderlust? I really busted my butt to get something made in time. 

It took me a little thinking on the theme, but I finally remembered that I had a tin with maps on it. 
While using a map is an integral part of traveling, I decided to focus more on the actual experience of traveling as denoted by the term Wanderlust. They're just out of frame, but on either side of the land were two ships. I was able to punch them out with my disc cutter. But, then what? 

I really thought at one point that I was just going to punch holes in the tin and hang them from ear wires. However, I wanted to push myself further so I let the tin sit while ideas marinated. 
I finally hit on the idea of putting the tin inside a bezel, something I haven't done before. The bezels I ended up using were slightly too large, posing another dilemma. Yet, I was quickly able to come up with the idea of surrounding the tin with a ring of beads. To keep it simple, I used brass-colored seed beads that I strung together on a length of cord. They're glued in place with E6000. 

From there, I kept with the simple palette and added a brass filigree bead. But, there needed to be a touch of sparkle to give the earrings a feminine edge. So, rhinestone covered beads were also added to complete the look. 
Tall Ships like the ones in these earrings were one of the few ways to see the world several hundred years ago. And, cruising continues to be a favorite form of travel for many people. So, I think these sailing ship earrings are just perfect for the theme, even if I did almost run out of time to get them made. 

As always, thank you to Erin for the inspiration! And, make sure to head over to Earrings Everyday to see how other artists interpreted the Wanderlust theme into earrings. 

Shop CraftyHope on Etsy

Sometimes, I just need you to know what you can find in the CraftyHope Etsy Shop. Here's a little peek at just some of the jewelry you'll find there.

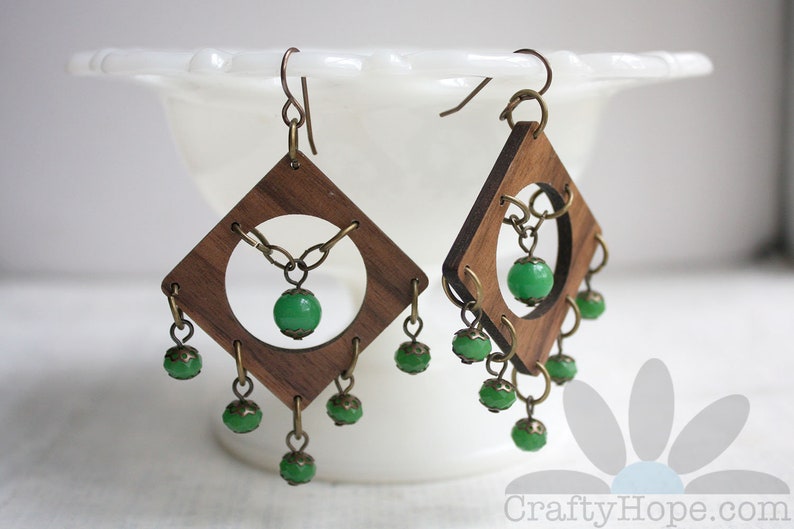
Wood and Glass Chandelier Earrings

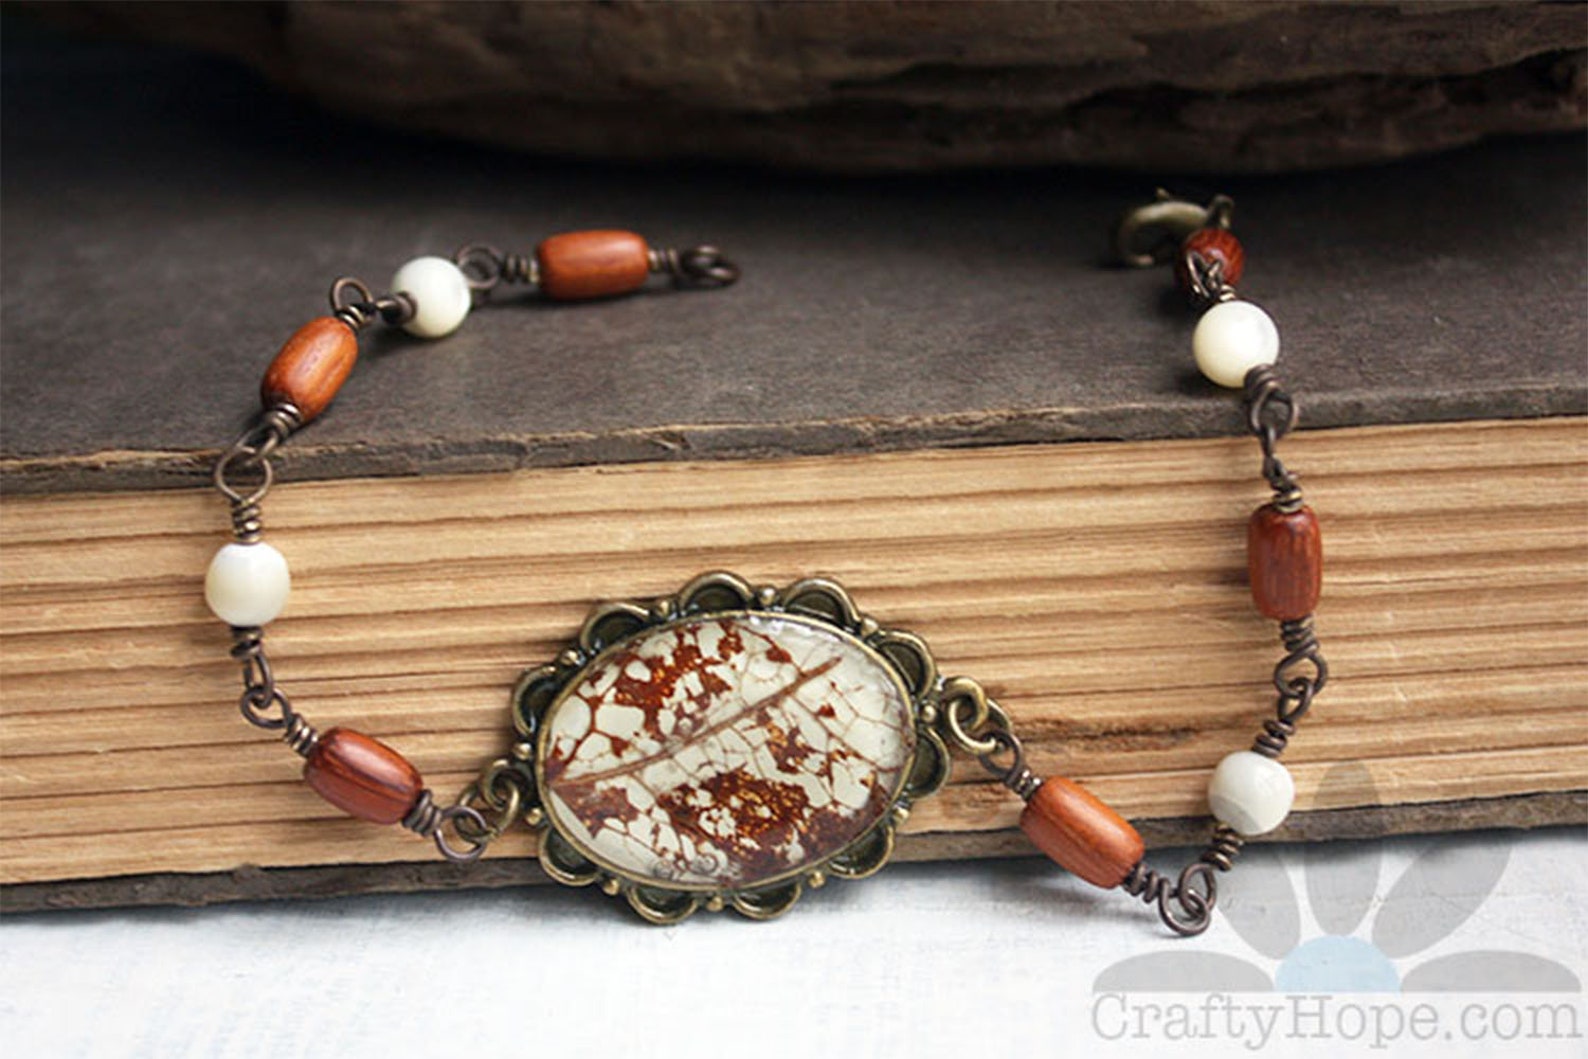
Skeleton Leaf Bracelet

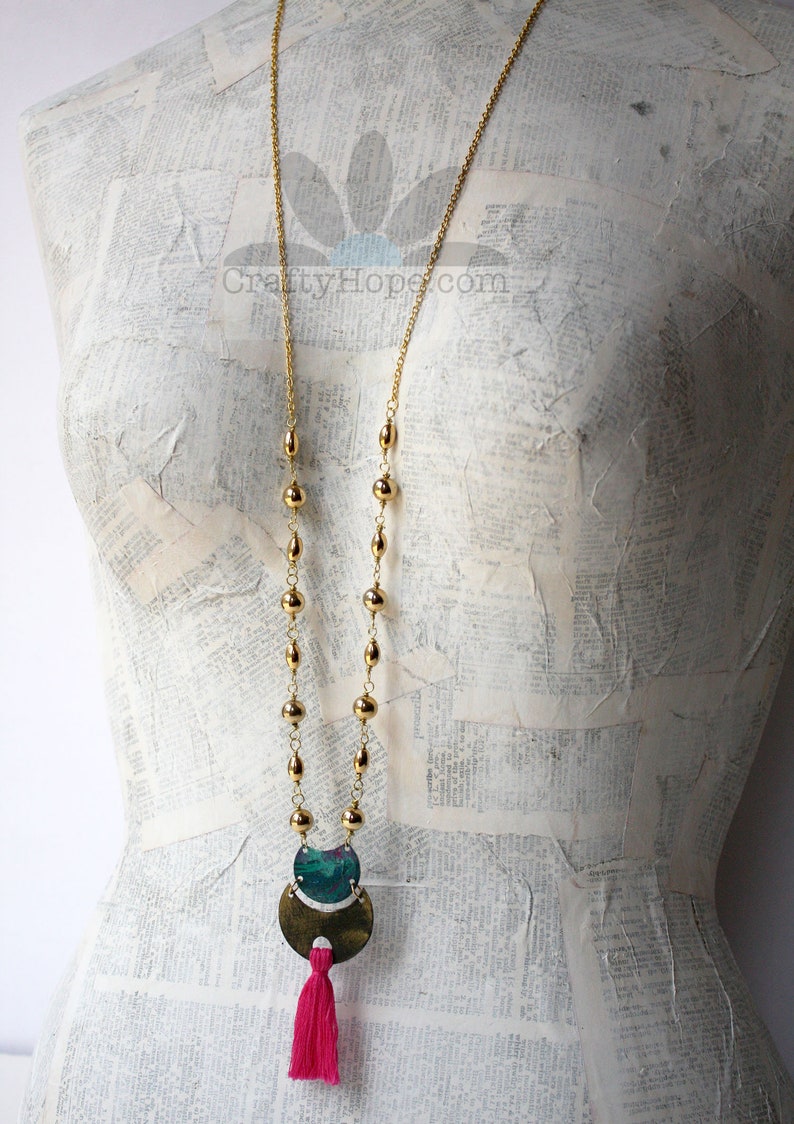
Hot Pink Flow Necklace

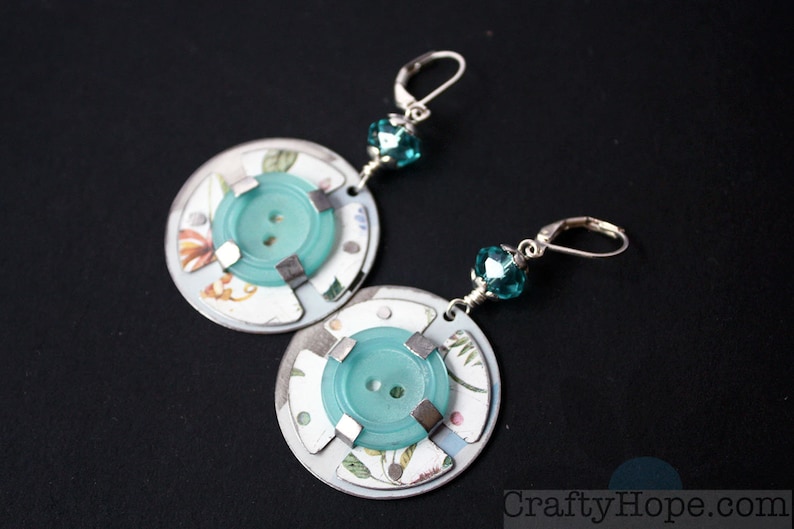
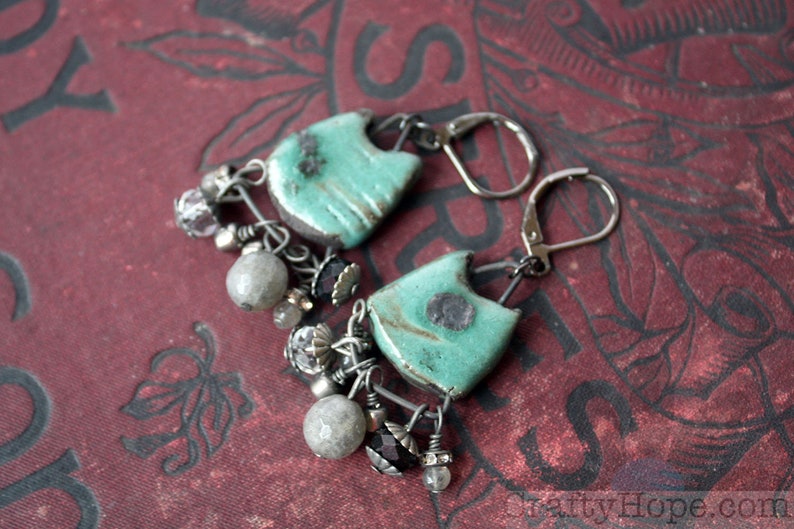
Spring Sky Earrings

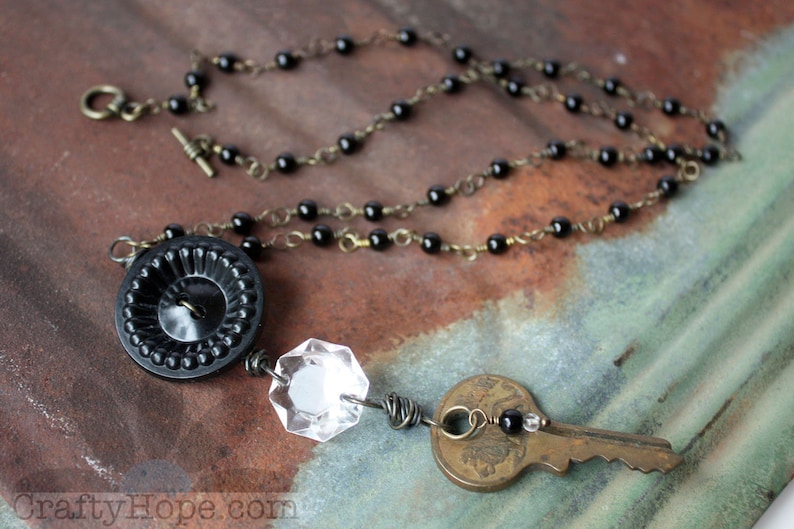
Button Crystal Key Necklace

Scorched Earth Fringe Earrings

And, there's SO  MUCH MORE! Make sure to head over to the Etsy Shop to take a gander at everything that's available!

My Art Journaling Journey Continues

To keep my creative juices flowing and stay inspired, I participate in a variety of crafty mediums. One of my favorites is art journaling because there aren't any rules or particular skills required. Your art journal can be for you and you alone or can be shared any way you wish.  It's fun to spread paint, glue down paper scraps, scribble away, and pour out your emotions and experimentations on a page. I shared some of my art journaling videos with you last month, so I thought I'd let that trend continue and share some of the other videos I created showing my art journaling processes. The pictures show my completed pages, but clicking the links will take you to their videos. 
Boys Will Be Boys Art Journal Page

Inspired by Our Mixed Media Moods

Small Junk Journal Page 1

Small Junk Journal Page 2

Small Junk Journal 4

Small Junk Journal Page 5

Small Junk Journal Page 6

As you can likely tell, I started a series within a small junk journal I made. Though, I do have a few other art journal videos in the works too.  Make sure to subscribe to my channel to see more videos from me. I promise, they're not all art journaling. 

April Challenges and Inspirations

If you're here for the Bead Peeps Swap N Hop Reveal, please click the link

Otherwise, I'm here to mention some of the other Challenges and Inspirations that you can find for the month of April (and beyond).

  • Already underway and already mentioned in The 100 Day Project that began on April 2 and goes for 100 days. You still have plenty of time to catch up or just begin! It's taking place on Instagram, check out #The100DayProject to see what's getting posted.
  • Art Bead Scene has issued their Art Journey #3 which used the encaustic art of Jessie Fritsch as inspiration. Remember that your contribution(s) must include at least one art bead and your submission must be in by May 4th. Read all about it on their blog.
  • Over at Earrings Everyday, Erin has chosen Wanderlust as the theme for the We're All Ears Challenge for April. The reveal date is April 19th.
  • Sarajo of SJ Designs Jewelry gave a fooling with her initial inspiration picture for the Honey Do List April Challenge since she posted it on the 1st (April Fool's Day). But, she fessed up and revealed the real inspiration in the next photo. The reveal for the challenge is on April 22nd. 
  • Somehow I missed the initial announcement of April's theme at Art Elements, but now that I've seen it, I'm beyond excited. The April Theme Challenge is Repurposing! Make sure you let them know if you're interested in participating so you can be part of the blog hop on April 30th. 
Those are all the challenges I'm aware of at the moment. Please don't hesitate to let me know if I've missed any. I hope you're inspired to create!

Bead Peeps Swap-n-Hop Reveal

Partners were assigned, beads were sent, and designs were created. Now, it's time to reveal what was made for the 2019 Bead Peeps Swap-n-Hop.

Ah, but first, let me remind you what my partner, Bonnie Robbins of Wire + Wonder, sent me. 
It was a lovely mix of stone, glass, crystal, and silver bits. You can see what I sent her at the bottom of this post.

The wire cage pictured above was the artisan component (created by Bonnie) that I was required to use in at least one of my designs. Since this was the case, it's where I chose to begin. But, that cage posed such a challenge to me that I must admit it took me a while to get started. I felt like the openness of the structure wasn't chunky or heavy enough to be the focal piece of a necklace, but was also too large to be a bracelet charm. Somehow I needed to alter it to suit my needs and style.
After much thought, I hit upon the idea of weaving on the bars of the cage to make it feel more substantial. I used the tails of the weaving also to create a tassel and give the pendant more length. 

To add a little heft to the pendant, a stone bead was slipped into the cage so that it would have weight to hang well. 

The chain of the necklace was created with more of the same embroidery thread and the aqua luster Czech glass beads that Bonnie sent. I actually had some of these in my own stash to add to the mix and lengthen the necklace. 
I simply knotted between each bead. When all the beads were used, I added jump rings and silver chain to finish the necklace. I'm quite pleased with how it all came together. 

I recorded my process of weaving on the wire cage, creating the tassel, and making the chain; if you're interested. 
You can always come back later and watch, I know it's a lengthy hop list!

Once the main component had been used, it wasn't really necessary for me to make anything more. However, I couldn't keep my hands off the beautiful beads Bonnie sent. I was drawn to the jade beads and large green stone bead. (Does anyone know what it is?)
I found the "Destiny" and Chinese coin charms in my stash and altered them with a little jade-colored Vintaj patina.

I know that jade and the coins have something to do with luck in Chinese culture, so the "destiny" charm, I thought, also worked well with these elements.
I don't often make bracelets, but I was happy at how quickly this one came together.

From there, I was drawn to the large crystal cubes with the AB coating on one side. I really loved the color spectrum when the cubes were turned just the right way and wanted to figure out some way to keep them set at the right angle so that those colors were always visible.
I came up with the idea of backing them with pieces of tin and wiring them in position so they couldn't turn. Initially, I planned to keep the tin ovals flat, but it became apparent that that method was going to be more of a struggle than I wanted to deal with. Instead, I curved the top and bottom of the ovals toward the beads so the punched holes were more accessible with the wire. 

Bonnie had included smaller similar-colored crystal cubes in her package, so I simply hung one from each of the bottom loops.
The bottom crystals may not always show their colors, but the tops will!

There were still so many beads left in the stash Bonnie sent, so I started playing with the decorative rings and some of the other crystal cubes.
Before long, I had all five of the rings linked together and realized that it would make a great bracelet with the addition of a little something else. The idea of using sari silk to make it a wrap bracelet hit me, and there was no turning back. 

The toggle closure through one of the rings makes it easy to clasp. And, after making it, I realized that it can even be worn as a necklace! Awesome.

And, I wasn't done yet. There were two dark blue crystal cones in the mix from Bonnie that kept drawing my eye. And, for me, whenever there's two of something, I immediately think of earrings. 
Since upcycling tin has been my go-to for jewelry designing lately, I knew I wanted to add a little more tin to this reveal. I used my dapping black to dome some small tin discs and added a few beads to the center of them to create little floral dangles from the cones. 

These have so much fun movement to them, and I can't resist the blue!

Once those earrings were done, I knew I was beginning to run short on time, especially since pictures needed to be taken, a video had to be edited, and this post needed to be written.  So, I made myself stop. I do have a few ideas for the large stone pendant and am desperate to use that beautiful toggle clasp, but those designs will have to come later. I really enjoyed the challenge that Bonnie set before me. Who knew that a simple wire cage could be so boggling? I love that she got me thinking outside of the box with it. Thank you, Bonnie! 
Now, make sure to hop over to Bonnie's reveal on Instagram to see what she made with the package I sent her. 
And, don't forget that there's a whole list (below) of other artists participating in the Swap-N-Hop. I'm looking forward to seeing what inspired them and how they worked with what they received. Enjoy the hop!

Non-Seed
-------------
**YOU'RE HERE** Hope Smitherman 

-------------
Seed Beaders
-------------


Thrifty Thursday (March Thrifty Haul)

I love to shop frugally at thrift stores, discount places, and the clearance aisles. Being thrifty doesn't always mean it came from the thrift store, it also means using money carefully. And, honestly, I was quite thrifty this past month as I didn't spend near as much as I have in month's past. That's always a good thing. I forgot to get pictures of everything before I put it to use, but did remember to record quick videos of my hauls.

It's all crafty loot that will and has been put to use. Take a minute to watch the video and see.

I'm always surprised at what I can find discounted if I just exercise a little patience! Here's hoping you have much luck too when you go hunting for deals. 

Peek at my Weeks: March 17-31 (and #The100DayProject)

Since I've been a bad blogger, you get to take a peek at my past TWO weeks. How's that for a treat? LOL. Seriously though, I'm having trouble keeping up with the days, let alone the weeks. But, I'd rather be busy than bored. 
Two weeks ago I finished making these two paper bag journals following the video instructions from Erin of Happily We Go. Now to fill them up!

On Sundays, Pat and I try to have what we call "Puppy Fun Day" in which we take Zoe out for some sort of adventure. It's usually just a walk along Mobile Bay, but sometimes we like to venture out a bit more.
Learning that Graham Creek Nature Preserve had extended some of their trails and added a few more disc golf courses, we decided to go check it out. We took a seriously long hike/walk through their trails.

And, we rewarded ourselves with a trip to The Gulf for burgers and beer on the beach. 
It was a wonderful day. And, we were relieved that we had tired Zoe out on the long walk as she was exceptionally well-behaved at the restaurant.

As you can tell, the weather down here has been glorious. Everything is in bloom, and most of us have been suffering from allergy issues as a result. 
Despite our best efforts over the past several years, we still haven't rid the property of wisteria. It's honestly one of my absolute favorite scents and flowers, but the vines will cover everything, choke existing plants, and pull down anything in its path. It's not worth it. I have more work to do once they're no longer blooming. 

The delicate azaleas have long faded away. And, we've been left with this sad state of our bushes.
This is mostly because the weather's still fluctuating between perfect weather that doesn't go above 75 and then chilly dips into the 40s.

But, my fruiting trees and bushes don't seem to mind. Our mild winter has them exploding with blooms and fruit. 
You can already see the blueberries beginning to grow and ripen. I'll have to get you pictures of my citrus soon too.

I've done what I can to make sure I enjoy the temperate weather.
My hammock and Kindle have been broken out on more than one occasion to help me ensure that I appreciate the days.

I'm not the only one enjoying the weather.
I've seen lots of other animals out and about since it began to warm: lizards, snakes, and bunnies to name a few.

I failed to mention it in my last Challenge post, but #The100DayProject begins tomorrow

I've participated in the project the last two years; first by making earrings for 100 days and then by altering 100 objects. This year I'm taking a different route. 
I've decided to use #SilverloxFinds and share pictures of some of the weird and beautiful that I discover on our property. These pictures may include actual buried bits like the knob above that I stumbled on the other day.

Or, I may share more natural elements that take my breath away.
This blackberry bloom poking up from the blanket of moss stopped me in my tracks. Oddly enough, I found both of these within the same 10 feet of one another on different days. I'm hoping this project will get me out of the house, walking the property (exercise, yo!), and allow me to be open for the presence of magic and wonder that can be found outdoors. And, I want to share it with you! Make sure to follow @CraftyHope on Instagram and/or #SilverloxFinds to see what I discover over the next 100 Days. 

If you're doing the project too, please let me know so I can make sure to follow you too!

Now, I always like to share some of the inspiring links I found over the course of the week(s):
Two weeks, whew! Here's hoping I don't get that behind again! Wishing you a fabulous week, and that's no April Fooling!!

Winding down the 100DayProject

I awoke the other day with many thoughts about the 100 Day project and decided to jot them down here to share with you. Some of the bits I g...