Jewelry-Making for Beginners Part 7: Making a Simple Loop

I want to share the joy and fun of being able to make your own jewelry designs by helping you learn some of the basics of jewelry-making. This is the seventh installment in this series. Below are links to the other instructional posts.

Beads
Other Supplies
Opening and Closing a Jump Ring

This time, I'm showing you how to create a simple loop.

The tools and materials for creating a simple loop are fairly basic.
All you need is a head or eye pin, a bead, round nose pliers, wire cutters, and chain-nose pliers (optional).

To start, simply slide your bead(s) onto the eye/head pin.
This technique can also be used on wire, but I highly recommend that you use a heavy gauge and/or non-soft wire to ensure that your loops don't simply pull apart.

Ensuring that your bead is settled at the bottom of your pin, bend the wire at a 90-degree angle just above it, against the bead.
I have to admit that once I've created the 90-degree angle, I often lift the wire slightly off the bead to make sure my round nose pliers can fit between the bead and the wire without a gap.

Trim the wire to your desired length. I usually trim it to 1/4 - 1/2 an inch.
Remember that longer your wire, the larger your loop.

Firmly hold the end of the wire between the round jaws of your round-nose pliers while turning the wire toward the hole of the bead. You may have to reposition your hands/pliers to complete the loop.
Make sure that you turn until the end of the wire touches the part coming out of the bead.

Once your loop is formed, you can twist it open (like you would open a jump ring) with a single pair of chain-nose pliers (you could also use your round nose pliers if necessary, but they don't give as good of a grip.)
Remember not to pull the loop open as you could distort its shape.

Slip your open loop onto another element (ear wire, chain, another simple loop, etc.) and then close it by twisting.
Above you can see that with just the use of a simple loop, you can make an earring. As well, repeating a simple looped bead can make a beaded chain.

If you'd like to see how to make a simple loop, watch me explain it more, and get a BONUS tip, here's the video I made on Creating a Simple Loop.

I hope you are finding these posts and videos helpful. But, if there's anything else you'd like to learn or if you have any questions or anything to add; please don't hesitate to let me know in the comments!

I've linked this post up at the Recipe & DIY Link on The SwayTalk of the Town at Knick of Time, and Sweet Inspiration Link Party at A Crafty Mix.

What I Sent Kathy - Bead Peeps Swap N Hop 2018

As I mentioned last week, I'm participating in the Bead Peeps Swap N Hop 2018. It's a materials swap for jewelry-makers. I showed off the goodies that my partner, Kathy Lindemer sent to me. It's about time I got around to sharing what I sent her, especially since I know she's received them. 

The requirements of the hop are that you send your partner at least two of the three: a pendant, a clasp, and/or coordinating beads. And, at least one of those must be artisan-made (either by you or someone else). We're then asked to make at least one item, ensuring that we use the artisan-made item(s) received.
Above are the art pieces I sent Kathy. The flowered key and tin teardrop are both made by me. The ceramic yellow pendant is by Gaea, the lampwork bead by Kim Rogers, and the polymer clay beads by Tree Wings Studio

Since most of those were pendants, I then turned to selecting coordinating beads and clasps.
Spring is poking her head out in these parts, and I felt like this palette really reflected the sky, grass, and flowers making their appearance after a surprisingly white winter

I thought the colors in this daffodil picture (that I took the other day) accurately reflected the palette I was going for in the package I sent Kathy. 

Here's a look at all the elements together.

Now it's just a waiting game until the reveal on March 26th to see what beauty Kathy makes of it. While I wait, I guess I'd better stop admiring the beauties she sent me and get to work myself! 

We're All Ears Chandelier Earrings Challenge

I have to admit that I completely forgot about the Earrings Everyday We're All Ears Challenge for February until I started spotting the reveals in my feed. Oops! I remember seeing the initial post about the chandelier inspiration. And, I was totally inspired by the chandeliers. I just let it slip my mind. 

I also have to admit that I didn't take the Hudson Valley style quiz until after I completed my design. Oh well. I ended up with Chic Vintage & Industrial as my style type. That sounds about right.

As for making chandelier-inspired earrings; I've long made "chandelier earrings". And, I definitely associate chandeliers with jewelry as I do collect and sometimes even incorporate their crystals into my designs. But, I wanted to go even more literal than that. I wanted to make earrings that LOOK like chandeliers.

Initially, I wanted to make them a little more 3D with four of the arms coming off it. I worked and fiddled and banged and wire-wrapped, but just could not get the result I was after. So, I went with a more flat design but with the same hook idea. 

I started with the thickest gauge copper wire I had on hand (16g), formed the little side loops, created the larger curve, hammered the long pieces flat (so they would fit back to back without much slipping), and wrapped them together with 24g copper wire. Then, I trimmed the tops and curved them in toward each other for a decorative element. 

After that, it was a matter of picking out what bead crystals I wanted to hang from my chandelier. These small briolettes were perfect. (You should have seen the little dance I did across the craft room after finding them.) After that, I aged the copper forms and some additional 24g wire with Novican Black to take away the super shine of the hardware store copper wire. The extra wire was used to wrap the crystals onto the chandelier. 

The pictures don't really do the earrings justice. They look more like chandeliers in person. I'm absolutely smitten with these! Thank you so much, Erin for the challenge. Your chandelier inspiration totally had me motivated to get these done.

Oh, and as for the results of the style quiz...I think these absolutely meet my Chic Vintage & Industrial style!

Hop on over to Earrings Everyday and see how the other designers interpreted this challenge. They're all so unique and different and absolutely beautiful!

My Partner and Beads for the Bead Peeps Swap N Hop 2018

For the second time, I'm participating in the Bead Peeps Swap N Hop. It's a fun swap between jewelry-makers through the Bead Peeps Facebook Group. Each designer is paired with another to swap pendants, clasps, and beads ensuring that at least one item is artisan made. Then, we make something with the loot. I'm paired with the amazing Kathy Lindermer.

I'm so very bad at introductions, especially compared to the one Kathy wrote about me. Let me at least try to get you acquainted with her. Kathy is an accomplished jewelry artist and blogger who blogs under the name BayMoonDesign (isn't that lovely!?). You can also find her selling her designs under Bay Moon Design on Etsy. Not only does Kathy create wonderfully romantic and nature-inspired pieces of jewelry but also fun and quirky cards.
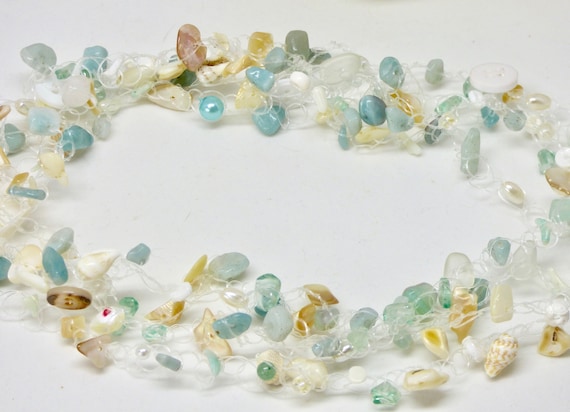
Ocean Shell Necklace from Bay Moon Design on Etsy
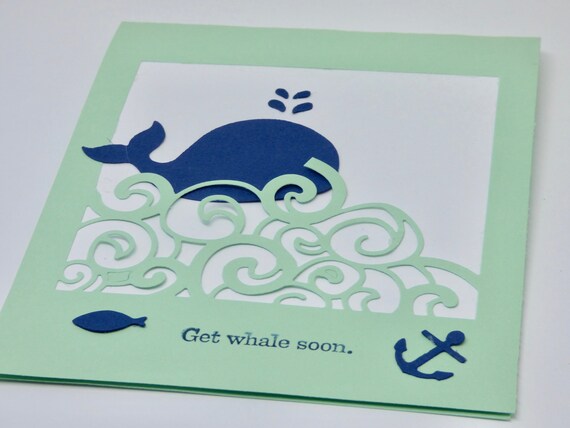
Get Whale Soon card from Bay Moon Design on Etsy

Kathy gets to live the best of both worlds as she spends mild summers along the Delaware coastline and warm winters in the Florida Keys. Lucky her!! Kathy's designs have a feeling all their own. Somehow she is able to incorporate elegance, rusticness, and romance into each of her pieces. And, it works beautifully!
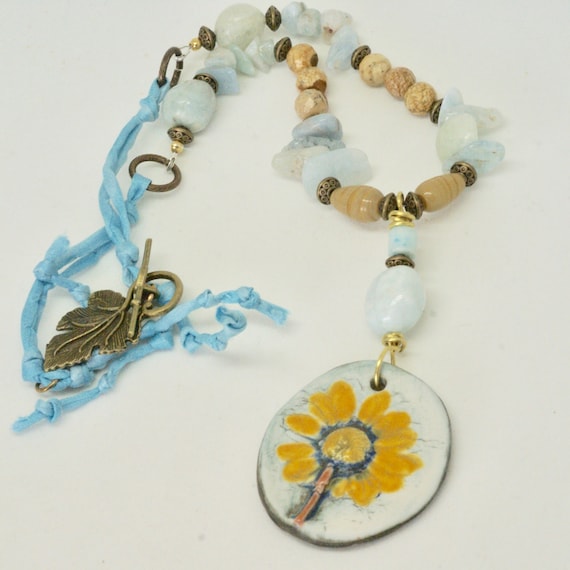
Yellow Floral Pendant Necklace from Bay Moon Design on Etsy
While Kathy and I have never met in person, I feel like we've known each other for ages through blogging and beading. And, I can tell just from what she sent me for the Bead Peeps Swap N Hop that she's a VERY generous person!

It started with this unassuming box! (Well, unassuming except for the fact that Kathy totally picked up on my love of kitties!)
What she wrote in the card hinted at a color palette option. What!?

When I finally got the box open, the eye candy that awaited me was magical! (yes, magical eye candy...I said it!)
Obviously, the peacock feather immediately stood out and captured my attention for at least several seconds. Then I began to dig!

Kathy was able to pack that little box tight with all these treasures!
And, now that they're all out, you can see what she meant about the color palettes. On the left are the ultraviolet (Pantone's color of the year) selections and on the right are her "earthy" selections. I could tell right away which beads were in which palette. Yet, I grouped the copper clasp with the ultraviolet pieces while Kathy took her picture with the rustic ones. We'll see what I end up doing with it.

Let me give you a little more detail about what she sent. At the center, there is a ceramic pendant from Marsha Neal Studio. In the 12 o'clock position is a strand of purple shell beads (look at those SPIRALS).  At 1 o'clock is a polymer clay bead from Humblebeads.  In the 3 o'clock position are luscious Czech glass beads. At 4-5 o'clock is Wooly Wire! (My swap partner last year also sent me some, if you remember, and I never got around to using it. Maybe this time I will!). At 7 o'clock is a lovely spiraled copper hook clasp made my Kathy herself (a woman of many talents!). At 9 o'clock are ceramic beads with stone beads above them.

And then there's a WHOLE OTHER SET!
Again, starting in the center is that fabulous peacock feather pendant from Firefly Design Studio. At the top are green-dyed fire agate beads. Jasper beads are on the right. Polymer clay twisted beads at the bottom. (These are marked as by Jera Luna, but I'm not familiar with this artist so if you have a link to them, please share!!) At the left are natural wood beads.

There is no way I couldn't be inspired by this mix of awesome. I've already got a few ideas that I will set into motion soon. But for now, a teaser of what I sent Kathy!
Kathy should be getting the package in the next day or two so that should be enough to keep you (and her) guessing.

I'll share non-blurred pictures when I'm sure she's received it. Until then, I hope she likes it, and I'd better get to work on my own. Come back March 26th for the full reveal!

King Cake Monkey Muffins

It's Mardi Gras season here in my neck of the woods. Since tomorrow is Mardi Gras Day, I thought I'd share this fun recipe that's a take on a King Cake, a typical dessert this time of the year.

Also, I must admit that this is a take on Pioneer Woman's Monkey Muffins with my own little flair.

The ingredients are simple enough:
I use a can of large flaky biscuits, butter, sugar, cinnamon, sweetened condensed milk, and colored sprinkles (in purple, yellow (gold), and green).

Start by mixing 1/4 Cup of sugar with 1 tsp. of cinnamon in a small, shallow bowl.

Place a sliver of butter in the bottom of each muffin cup you'll be using (I ended up using two more as I was too excited about these to worry with something silly like math.)

Sprinkle about 1/2 tsp. of sugar into each cup.

Add a shake or two of cinnamon.

This combination forms an amazing "crust" of caramelized sugar on the bottom of the muffins. Just wait and see!

Release your muffins from their container. (You could use any kind of prepared dough, but the biscuit dough works for me and is always easy to find.)

Cut your muffin into 3-4 pieces. I cut these into 4 because they're the large biscuits.

Roll each piece of cut dough between your hands into a rough ball then roll the ball in the cinnamon sugar.

Place 3 or 4 of the sugared dough balls into each of the buttered cups.

Top the dough with another layer of butter, sugar, and cinnamon.

Bake at 375 degrees (Fahrenheit) for 15 minutes or until evenly brown.

While the muffins are still hot, drizzle sweetened condensed milk over each muffin.

Sprinkle a little of each color of the colored sugar onto the muffins. Keep each color in its own area so that they show up better.

Enjoy!!

The complete instructions are below

King Cake Monkey Muffins
Ingredients: 
Can of biscuit dough 
Sugar
Butter
Cinnamon
Sweetened Condensed Milk
Colored Sprinkles (in Green, Yellow (gold), and Purple)

Directions:
1. Preheat oven to 375 degrees
2. Mix 1/4 C sugar and 1 teas. cinnamon in a shallow bowl
3. Place a small sliver of butter into each muffin cup. Top with a sprinkling of sugar and cinnamon.
4. Cut dough into small portions (a large, raw biscuit works well cut into fourths). Roll each portion into a ball. Roll dough balls in the cinnamon sugar mix.
5. Place 3-4 balls into each muffin cup. Top with a sliver of butter and a sprinkling of sugar and cinnamon
6. Bake for 15 minutes.
7. Drizzle sweetened condensed milk over each muffin.

8. Sprinkle a little of each color sprinkle on each muffin. 


I'm linking this post up at Show and Share on Coastal Charm, Saturday Sparks Link Party at Pieced Pastimes, and Sweet Inspiration Link Party at A Crafty Mix

Valentine's Day Jewelry

Valentine's Day is just around the corner, and whether you've met the love of your life or simply want to celebrate how much you love yourself - I've got some perfect jewelry choices in the CraftyHope Etsy shop

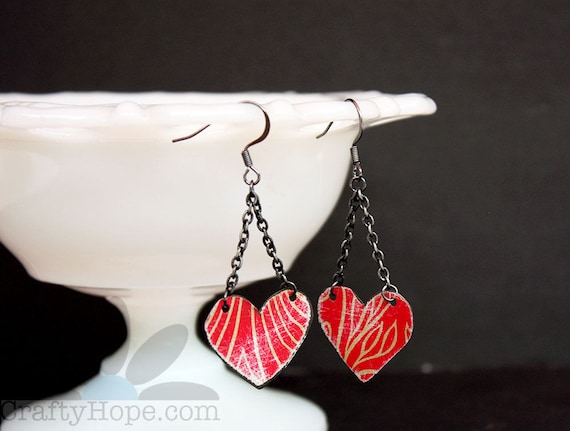
The most obvious option from my shop are the Red Tin Heart Earrings.

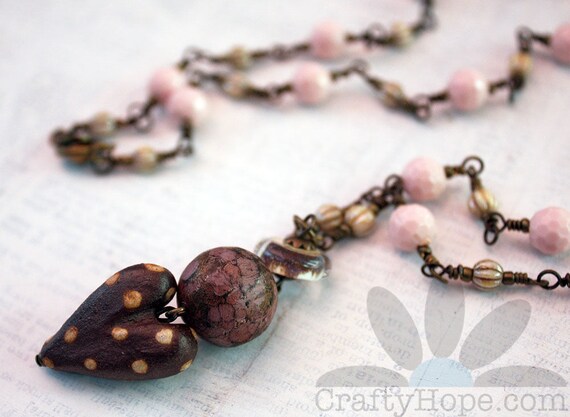
Coming in as second most obvious is this Art Beads Necklace with the heart bead and pink accents.

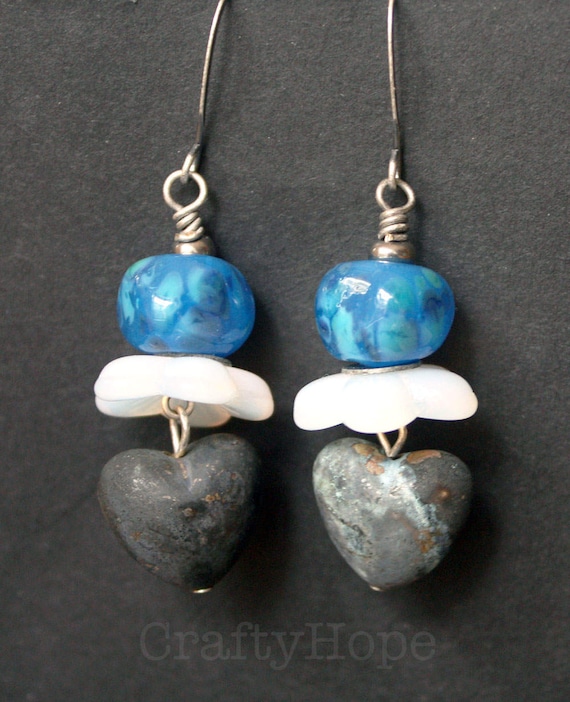
For those who are a little bitter toward the whole V-day thing, my Tarnished Heart Earrings might be more your style. 

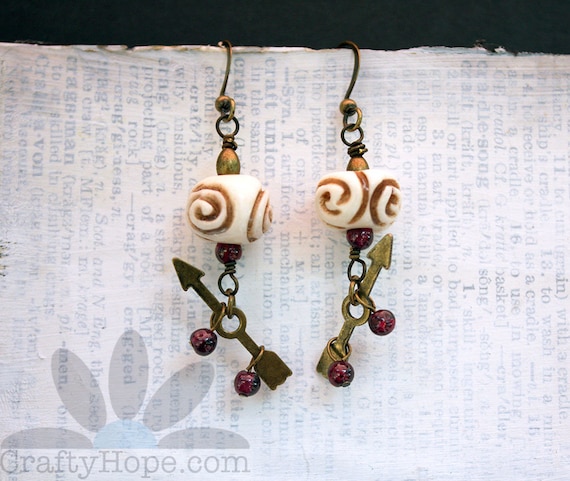
If hearts are just too literal for you - how about a nod to cupid's arrow with these Bone and Arrow Earrings

There are also quite a few "Key to My Heart" pieces available. Here are a few of my favorites:
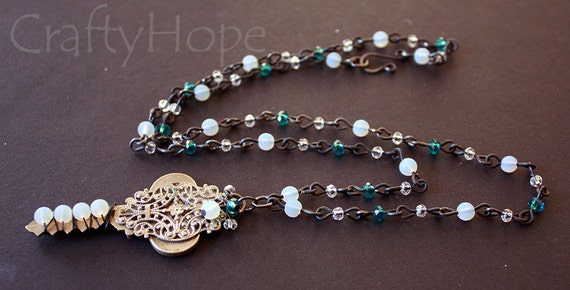
Delicate Key Necklace
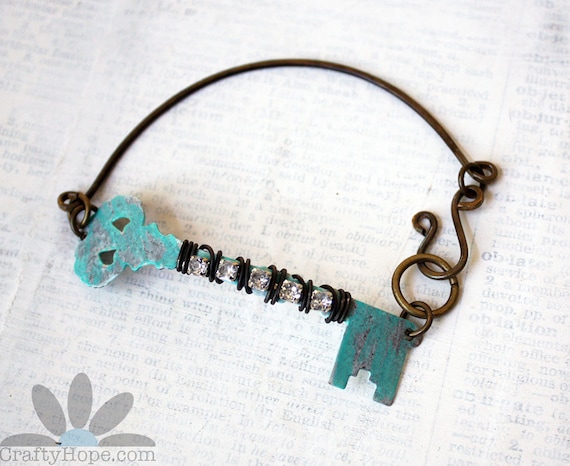
Rhinestone Key Bracelet
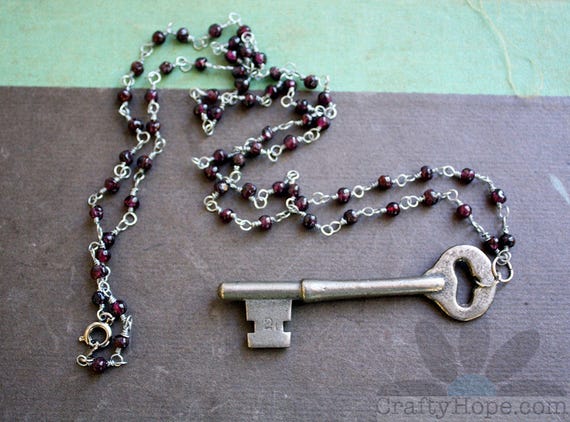
Skeleton Key and Garnet Necklace
And, if you live in the South Alabama area; there are a few options available in my booth at Southern Antiques and Accents (Greeno location).


Of course, anything from either shop might do the trick as jewelry is always a popular gift for to show some love for yourself or someone else. Valentine's Day is fast approaching so make sure to get your jewelry now so you'll have it in time for the big day!

Winding down the 100DayProject

I awoke the other day with many thoughts about the 100 Day project and decided to jot them down here to share with you. Some of the bits I g...