Packing beads for travel/vacation (my method)

On each of my vacations, I make an attempt to take some craft supplies with me in the hope that I'll be extra-inspired by all the fun and relaxing I plan on doing. This last vacation was no exception. However, I did put a little twist on my usual craft bag. First off, I took WAY LESS than I usually try to pack. In fact, all I took was this one little bag (it's a small fishing tackle box that fits only three organizers in it).

Strapped to the top of the tackle box is a baggie full of jewelry that needed to be taken apart/trashed. Let me go ahead and admit that taking apart the jewelry in that baggie is all I got to work on the whole two weeks.

But now that it's taken apart, I've got a whole organizer filled with beads simply sorted by color for me to use.

Though I didn't get to use the rest of the supplies I took, I thought I'd at least share what I packed. (I put in a lot of time and consideration to pack this compactly.)

First, there were the tools to help take apart the trash jewelry and maybe even make some other jewelry. (Those were lofty hopes.)

In addition, I packed wire, waxed linen cord, and some recycled sari silk.

I threw in some seed beads for good measure

along with a bit of metal findings, chain, beads, and accessories.

This container (below) WAS empty and ready for me to fill up with the beads and whatever miscellanea I could salvage from the trash jewelry.

Finally, (this is the container that had me the most excited, and I'm still itching to get into it) I picked out a selection of 'focals' and a single strand/color of bead to coordinate with each of them. I figured I'd use the beads from the trashed jewelry to fill out each of the designs.

Alas, it took me forever to get through the taking apart of that baggie of jewelry. There was a lot of wire, leather, fabric, a few beads, and many hours of work simply thrown away.

At least I had a lovely view while I was being so destructive.

Do you pack a craft bag to go on vacation/travel? What's your method for it?

Return to the real world with a meal plan

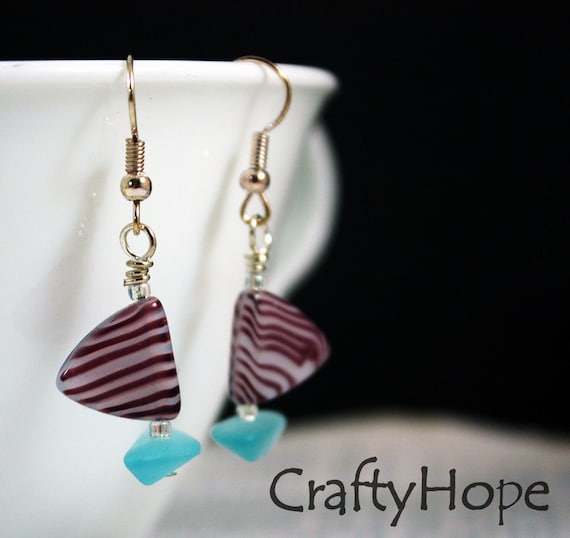
My two weeks of vacation are officially over. . .thank goodness! We really had a blast the first week with our friends and then the second week with our nieces, but I was ever so happy to get a chance to try to get my house in order yesterday before starting back on my weekly routine today. Of course, I already miss being near the water. So I listed these pretty Sailboat earrings in my shop.
Sailboat Earrings
Since we're both back home and no longer have the nieces, I can focus on tasks like re-stocking our pantry and fridge with items that are NOT Easter candy, doggie bags, sugary cereals, and fatty snacks. (Seriously, I feel like that's all we've eaten.) It will be tough to really get back on track with our healthier eating habits, but (now that I've seen what I look like in a bathing suit) I know it's a necessity! Here's what I have planned for the week.

Breakfasts: Smoothies, Cereal, Oatmeal/grits, Hashbrown baskets, Waffles (all with fruit)

Lunches: Soup w/grilled cheese, Cheese quesidillas, Simple sesame noodles, PB&J, Tuna Noodles, Turkey Sandwiches, Leftovers (all with fruit and/or veggies)

Dinners
Grilled chicken w/Sweet potatoes & Caesar salad
Tofu parmigiana w/Roasted broccoli
Mexican hand pies (from freezer) w/Corn
Beef stroganoff w/Green beans


I'm also hoping to get some exercise back into my routine, but we'll see how that goes. How do you motivate yourself to get moving? (I'm guessing ice cream's not your answer because it's usually mine. . .as well as the reason I got into the lack of shape I am in.)

Sunsets and Spring Break 2014

I have no doubt that you probably haven't noticed my absence but I felt the need to check in real quick. Last week, we spent Spring Break with some friends and this week our nieces are staying with us for their Spring Break. Two weeks of spring break for me!

We've had busy, full days so most of what I've captured so far have been stunning over-the-water sunsets.


See what I mean?
Of course, while the sunsets have been awe-inspiring, spending time with these two beautiful and fun girls has been the best.

Happy Spring Break 2014

I'll be back next week.

Humble Beginnings

Last week I sorted through and organized all my jewelry stockpiled in the craft room. In that process, I stumbled upon some of the first jewelry I made when I started this journey.
Memory wire necklaces (top), twisted wire necklace (bottom left), and strung bead necklace (right).
One of the first skills I learned was to string beads. And, looking at the necklace below I'm reminded of the limited bead choices I had way back when. It was Michaels or nothing. I guess I was fortunate I had that at least!

Speaking of limited, Bead & Button and Beadwork were the only magazines I could find about jewelry making. I studied those magazine religiously and learned to make the twisted wired necklace (first photo) from those pages.

In addition, I went a little crazy making simple netted necklaces like the ones below. That style was also taught in one of those magazines. I made whole sets (bracelets, earrings, and even matching beaded bobby pins) based off whatever color scheme I had for each of those necklaces.

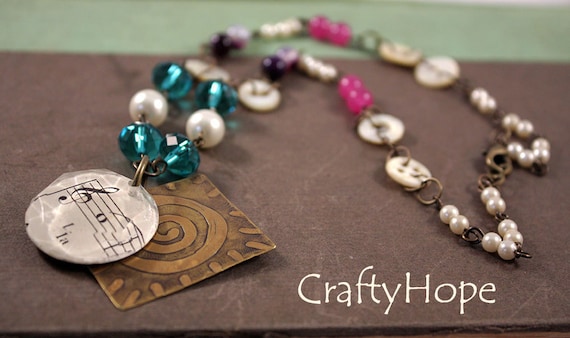
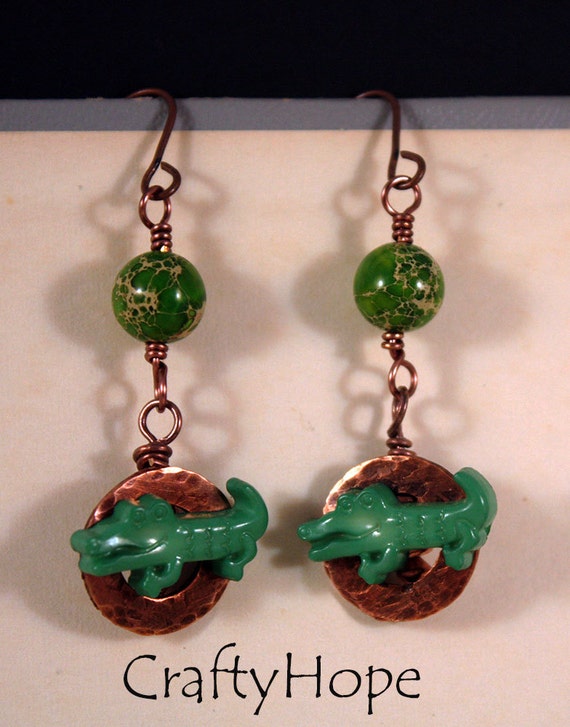
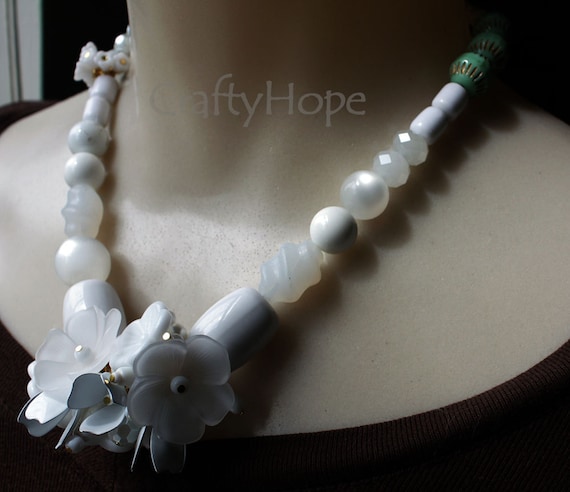
While there's nothing really wrong with the jewelry I made way back when, when I look at the items in my Etsy shop now; I can see how much my style, preference, vision, and skill have evolved.
Music Necklace
Gator Earrings
White Flowers Necklace
Though I re-organized some of my jewelry by donating it, those early pieces are items I just can't bear to part with yet. They're great reminders of where I started.

Do you still have some of your first jewelry hanging around too?

Props for Product Photography

Sometimes I get obsessed with product photography. I will spend days studying how other artists, magazines, and websites style and shoot their products. I'm constantly on the lookout for cool backgrounds and props for my own jewelry photos. At the beginning of the year I gave you a peek into my process for photographing jewelry. I mentioned my photo props briefly in the post but really didn't go into much about them. Since I've recently acquired some new props that have me excited, I thought I'd share with you what I use.

The basis for any product photo is a background. I tend to just use a variety of papers.
As you can see, none of them are shiny or too distracting. I like to keep them neutral in color as well. My favorite is the black posterboard. It is very matte, and I can buy it at my local Dollar Tree for only a buck! I cut it down so I'm not dealing with such big pieces of paper.

In addition to the paper, another prop staple of mine is the cup/mug.
These are perfect to hang earrings. From time to time I'll also use the mugs for bracelets too.

I've got a small collection of traditional jewelry displays that make cameos in my photos.
The black earring holders are strictly used for earrings, but I use the wood display for necklaces most of the time. Both of them have their pros and cons.

The last of my staples are some general props: old books and a piece of driftwood.
The books come into play in various ways. I use the outside covers or inside pages as general backgrounds, I stack the books and let the jewelry (usually necklaces) hang, and I open the front cover and hang earrings from the edges. The driftwood only gets used from time to time and often to lay bracelets across. However, I don't limit myself to bracelets by any means with it.

I've had all of these props for so long that they're almost coming to bore me. So, I've been on the lookout for some new items. Over a month ago I found this lady and was ecstatic! I've been looking for someone like her for ages.
She'll help me show how necklaces hang on the body (since I have a hard time getting a picture of myself wearing them - short arms) She came topless, but I've got her dressed for decency's sake. Eventually I'll cover her with some text.

As well, I discovered this beautiful milk glass bowl while thrifting.
It's perfect for hanging earrings from the dainty edges or placing earrings inside the bowl. I've even taken a few bracelet shots with it.

Finally, I picked up this rusty piece of tin at an antique store. I probably paid more than I should have for it, but I saw so many possibilities.
It has a perfect matte finish and the rustic, grungy feel that I love. I can shoot any of my jewelry on it really.

I try to keep all my props together. The majority of them are in one of those collapsible canvas organizers.
This makes it easy to grab all of them quickly when I have the time to take pictures.

In addition to what I've shown you here, I do have a couple of other new items that need to be cut down to size. I'll also be keeping my eye out for more. Can you ever really have enough photo props? I hope you realize that the items I tend to use are either handmade, cheap, or found - with a few exceptions. There's no reason that your photo props have to be expensive, they just need to show your product well.

And oh, I love how my pictures are turning out with my new props.
Bright Blossom earrings - photographed from the milk glass bowl with black posterboard below and behind.

What do you use for photo props/backgrounds? Is there anything in particular you've been wanting to try?

Smoothies, Weekly Menu, and Recipe Review

Each week for I don't know how long now, I've put 'smoothies' on our menu without ever mentioning how I make them, what I put in them, etc. In general, they are a green smoothie but the color always ends up being a bit . . .unappetizing. One of last week's smoothies, in fact, prompted this tweet/Facebook status from me.

I wasn't alone in this as I received several responses that some people often put their smoothies in non-see-through cups to drink them. Ha!

Despite the look of the smoothies, we really enjoy them. So here's how I generally make mine.

Start with a bunch of raw spinach and wash it. (Don't cringe, I HATE cooked spinach myself but this stuff doesn't even have a flavor when it's raw.)


Throw the spinach in your blender/blender cups. Above is about 2 cups of spinach per tumbler/person. Sometimes I just do 1 cup, but 2 is the max I can fit in these.

Add your liquid. I almost always use unsweetened, unflavored almond milk. It's only 30 calories a cup and without a flavor so I can cook with it too (note: vanilla almond milk in mac-and-cheese is NOT GOOD). Anyway, you could use water or any other milk you have on hand if you want. I've got about 1/2 a cup in there.

Blend the spinach/milk mixture until smooth. You see it blends down so you can add more yumminess.

I always add 1/2 to 1 whole banana per person and then some frozen fruit, usually berries. I don't usually buy the packaged frozen fruit. Most often I get fresh fruit on sale and freeze it myself, but it's been a long winter and this is what I had on hand. Remember that if your fruit is frozen, you don't have to add ice.

I also add about 1 Tbs of PB2. Y'all!! I haven't been paid or anything to represent this stuff, but I assure you it's awesome. The calorie and fat amounts for it are WAY BELOW traditional peanut butter, even the natural stuff. And, it still tastes like peanut butter. Score! Apparently, there's even a chocolate PB2 version, but it's not in my local grocery store yet, dangit.

Also, I try to make sure I add the powder between the bananas and the berries so it's touching the liquid and mixes well.

Then blend away, check out the berries mingling with the spinach.

Alas, it still comes out that awful color. But, at least it tastes of a PB&J with banana!

Now that I've shared my smoothie secrets with you, here's what's on the menu for this week.

Breakfasts: Smoothies (obviously), Cereal, Oatmeal/grits, Hashbrown baskets, waffles

Lunches: Cheese quesidillas, Simple Sesame Noodles, Turkey Sandwich, PB&J, Tuna Noodles, Soup w/grilled cheese, Leftovers

Dinners:
Grilled Chicken w/sweet potatoes and Caesar salad
Pad Thai Soup (double recipe) w/spinach salad
Mac-n-cheese w/peas
Beef Stroganoff w/green beans

_____________________________________

Recipe Review

Broccoli, cannellini bean, and cheddar soup: I had such high hopes for this soup. However, once I started to cook the broccoli I realized there just wasn't much liquid to this recipe and there was A LOT of broccoli. I added more veg broth throughout the process, but it was still too think or something. The texture was mushy and not to our liking at all. I won't be making this again.

So,what are you looking forward to eating this week?

Bead Table Wednesday (4/2)

Each Wednesday, Heather of Humblebeads encourages you to show off what's on your bead table, craft desk, workbench for the sake/fun of it.

Alas, since the organization bug has bitten me (see yesterday's Organizing My Jewelry post) my craft desk has been pretty lame.

Yup, that's a stack of spiral bound notebooks. They all have different purposes and are helping me get my files (paper and digital) in order. It's a long process of editing pictures, writing product descriptions, pricing jewelry, doodling, making lists, and whatnot.

Since my desk is so boring, why don't you play along and let me see the beautiful bits that are on YOUR bead table.
Thanks to Heather at Humblebeads for this awesome weekly prompt!

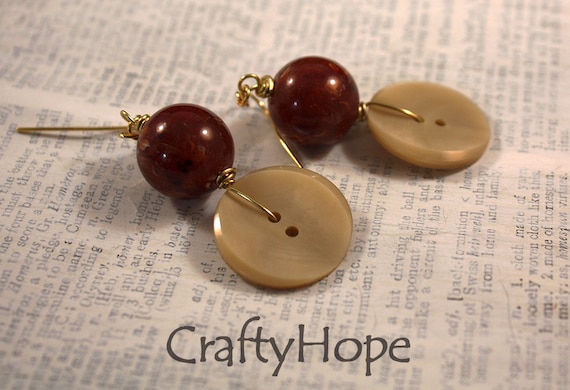
Oh, and since I like big buttons and I cannot lie. . .I made these earrings with some big beads to match.
Curvy Earrings
And, yes I do crack myself up. I know I'm not as funny as I think I am but at least I amuse myself. That's important, right?

Taking the Time to Organize My Jewelry

Last week I did the unthinkable.  . . I LOST a piece of jewelry. As soon as I realized that I couldn't find the darn thing, I knew it was time to do some serious organizing. I started by making sure that the pieces I had listed in my shop were on my "wall of listed items."

Once that was done, I sorted all the rest of my jewelry into piles.
There were a lot of piles! I had
  • piles of jewelry to be relisted
  • piles of jewelry for market (craft shows/shops. . .one day)
  • piles of jewelry I wasn't sure about
  • piles of jewelry to be trashed (taken apart)
  • piles of jewelry to be donated to silent auctions
  • and piles of jewelry to be donated to Goodwill. 
Each of those piles were divided into subcategories (earrings, bracelets, necklaces, etc.). It was a mess of piles. (I also double checked my digital files to make sure that they matched the floor-sorting.) It was a most-of-the-day process.


By the end of the day, I had a small tub full of jewelry 'to be trashed.' These are the pieces that I just don't think work or just don't like for one reason or another. The tub almost sends me into tears because of the countless HOURS of work I put into the pieces piled in it. However, I know that taking them apart will give the components a new life, new possibilities and that's a good thing. Right!?

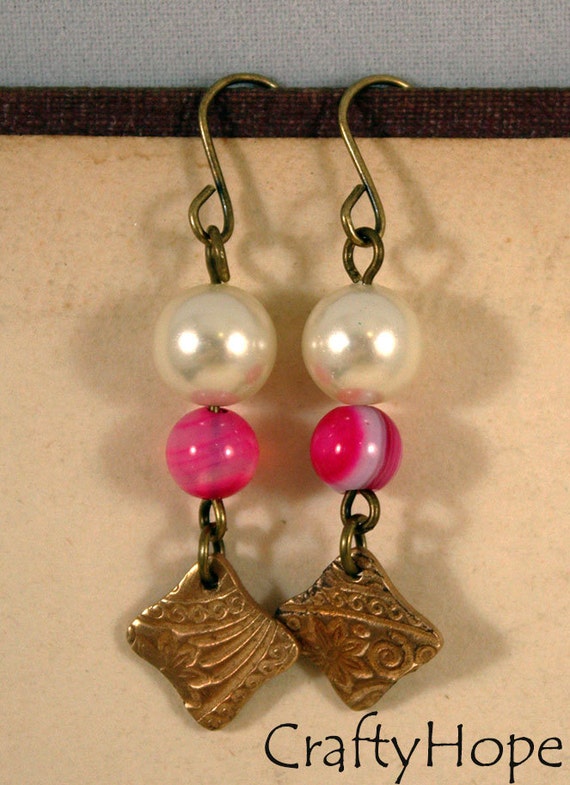
At some point I'll actually begin the painstaking process of tearing those pieces apart, but for now I'm just glad to know that everything is where it's supposed to be. It makes finding items so much easier, including these pretty little earrings that were relisted today.

Dainty Darling Earrings
How do you keep all your jewelry organized?

Winding down the 100DayProject

I awoke the other day with many thoughts about the 100 Day project and decided to jot them down here to share with you. Some of the bits I g...